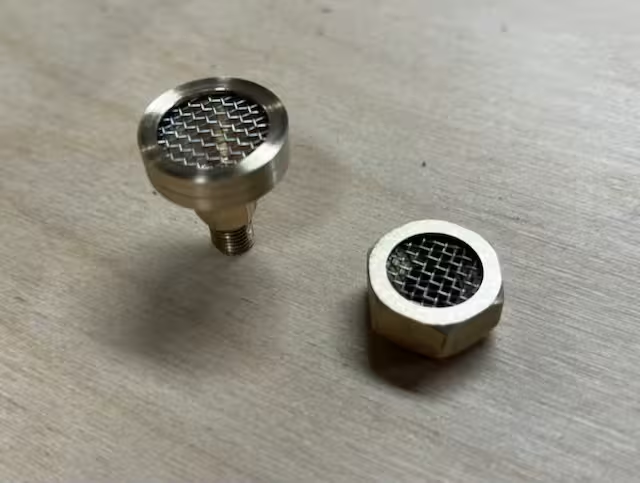
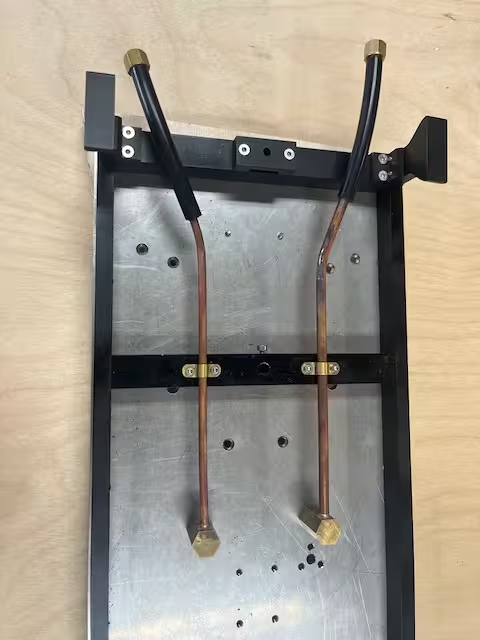
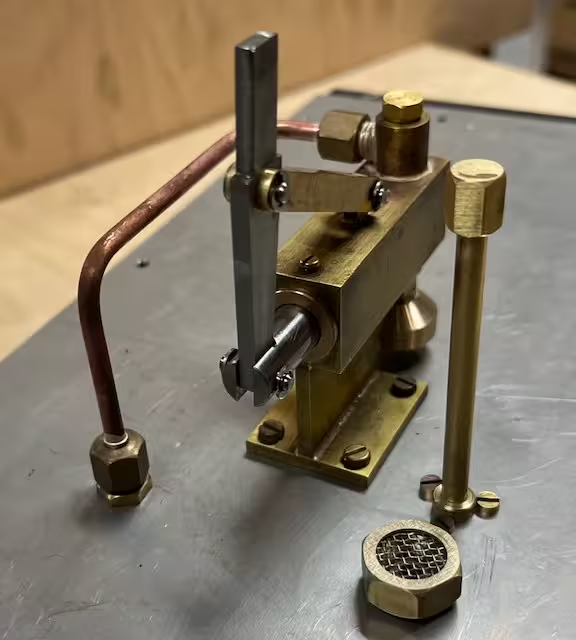
The last plumbing fittings to make, were the tube clamps. I decided to go for Kozo's heavy duty clamps.

Painting the tender turned out to be a much bigger exercise than what I anticipated.
After successfully spray painting the MEM Corliss Steam engine, I thought I had a paint process that I could just simply apply to the tender. I had a cheap touch-up spray gun which worked well on the Corliss, as well as on the relatively small parts of the tender trucks, etc.
I therefor thought I could just simply spray the tank the same way, without first practicing on some larger test pieces. Big mistake. I could not get an even, smooth satin finish on the tank. And then the dummy rivets made it very difficult to remove the paint!
I then consulted the excellent book "How (not) to a paint a locomotive" by Christopher Vine. His advice is to first sort out the spray process using many test pieces, and to keep meticulous records of paint mixing ratios and paint gun settings. So I did that with the touch-up gun, but simply could not achieve a satisfactory finish on larger test pieces.
I eventually contacted a local automotive spray painter that worked on my car before. I showed him my spray gun and some of the test pieces. He immediately told me that the touch-up gun is too small, and that I need a full size gun to be able to wet larger surfaces in one go before the paint starts flashing off.
After watching many spray gun videos on Youtube, I ordered a Devilbiss FLG-5 with a 1.3mm nozzle. More test pieces and note keeping followed until I could finally achieve reasonable and repeatable results.
Before attempting the tank again, I first sprayed the dummy side plates, with good results.

In his book Christopher Vine also suggests using a jig to hold larger pieces so that it can easily be turned around during spray painting. This makes it easier to orientate the gun correctly and also prevents running paint.

The jig worked so well on the tank, that I decided to respray the tender frame using the full size gun.

Next order of business was the lettering on the side of the tank.
Earlier last year I ordered custom waterslide decals from the UK. Using some of the spray painting test pieces to figure out the waterslide process, I quickly discovered how delicate the decals are. Spraying the decals with clear coat for protection also did not work. The lacquer thinners used to reduce the clear coat damaged the very fine letters.
Next I ordered some vinyl stick on lettering from a local graphic design shop. This looked quite nice, but even after spraying with clear coat, I could see that the tiny serifs on the letters started to lift slightly. It just did not seem to be very robust.
I then decided to try and follow Blondihacks and spray on the letters using vinyl stick on as a stencil. After some more test pieces, the results were repeatable and looked really good. So I took the plunge, and the dummy side plates came out really well.

I am still struggling to spray on a consistent 2K clear coat, so I am going to leave the lettering as it is now.
Finally all the tender parts are painted and ready for assembly!

Final assembly will probably also take a while, as the pump and plumbing still needs to be pressure tested and the whole tank made watertight.








 But after all your learning, the results look great!